In order to get started with the Ledger Live application, you first need to go to the official website and download the installation file for your system, or use the . Distributions are available for different operating systems macOS, Windows, Linux and Source.
Setting up a new Ledger hardware wallet
1. We go to the page with the application and see the following
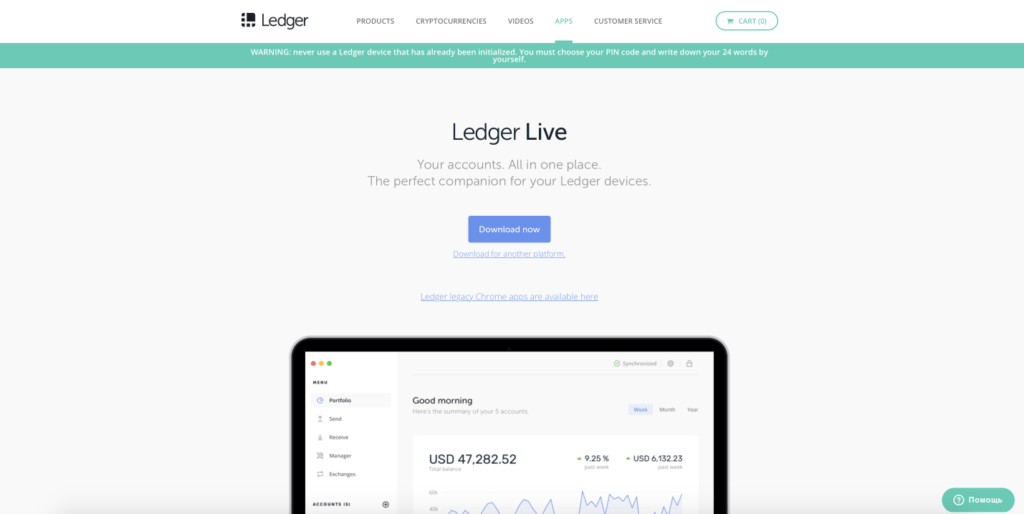
2. To download the application, you need to click on the “Download now” button
3. After that, the application will start downloading to your computer.
4. Once the installation file is downloaded, you need to install it on your computer.
5. Next, we find the installed application on the computer and go into it.
6. The Ledger Live interface will open
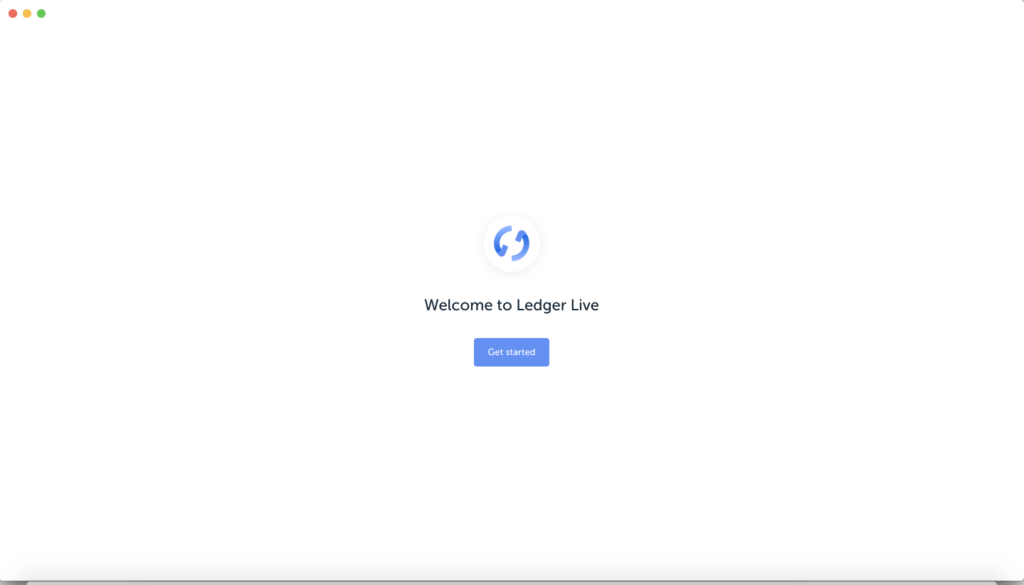
7. Click “Get started”.

8. In the list that appears, you need to choose what you want to do:
- Initialize a new Ledger device (setting up a new Ledger wallet)
9. If you want to set up a new wallet, click on the first option “Initialize a new Ledger device (setting up a new Ledger wallet).
10. Next, you need to select your Ledger Nano S or Ledger Blue wallet and click the blue “Continue” button

11. Next, you need to connect your ledger nano s wallet to your computer using the cable that is included in the kit. The message on the screen says that after connecting the wallet to the computer, select “Configure a new device”, and come up with a PIN code from 4 to 8 digits, to confirm the PIN code, you need to click on the “tick”. Also on this screen it is written that using the PIN code you will enter the wallet itself, that 8 digits for the PIN code will help to secure the wallet as much as possible and the most important thing is “NEVER USE THE WALLET IF THE PIN CODE OR PRIVATE PHRASE 24 WORDS IS ALREADY WRITTEN IN THE BOX” , Only you come up with a PIN code, and the wallet automatically generates a private key of 24 words when you first set up the wallet.

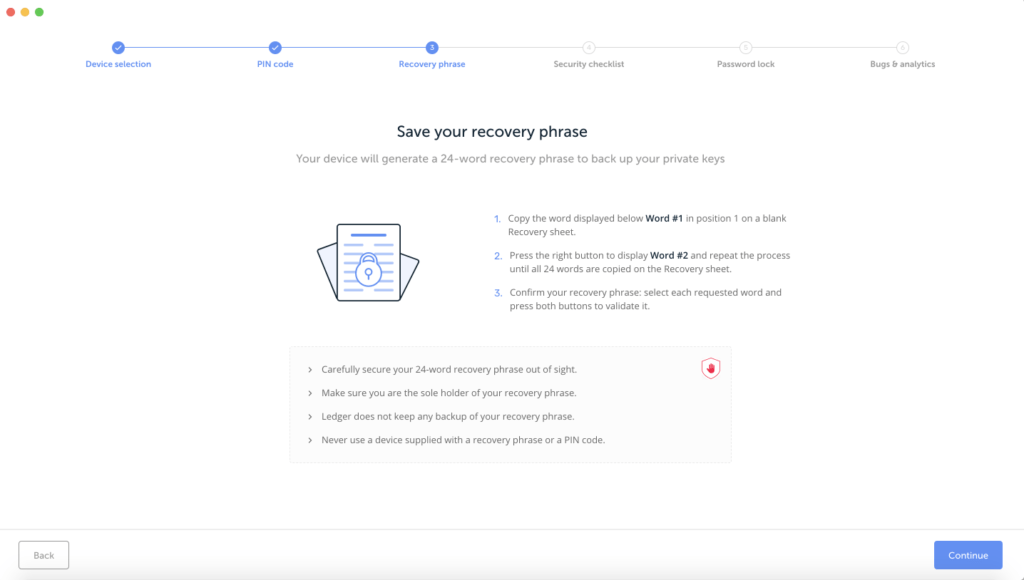
12. The next screen says how to write down your private phrase of 24 words, you need to write them down from the wallet, strictly in the order they appear, 1 WORD, 2 WORD and so on. Keep your private key in a safe place, this is the most valuable thing that a hardware wallet gives out.
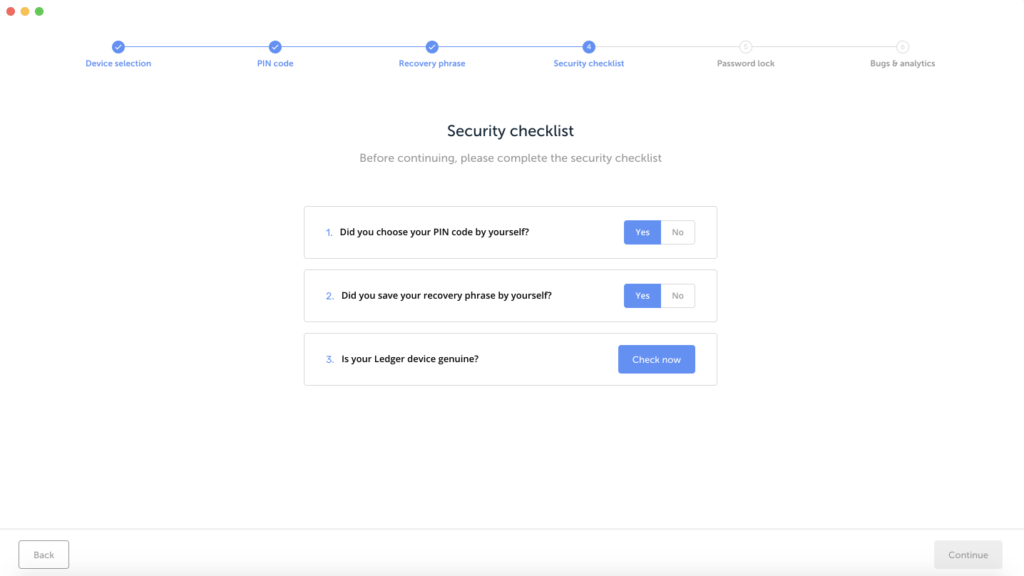
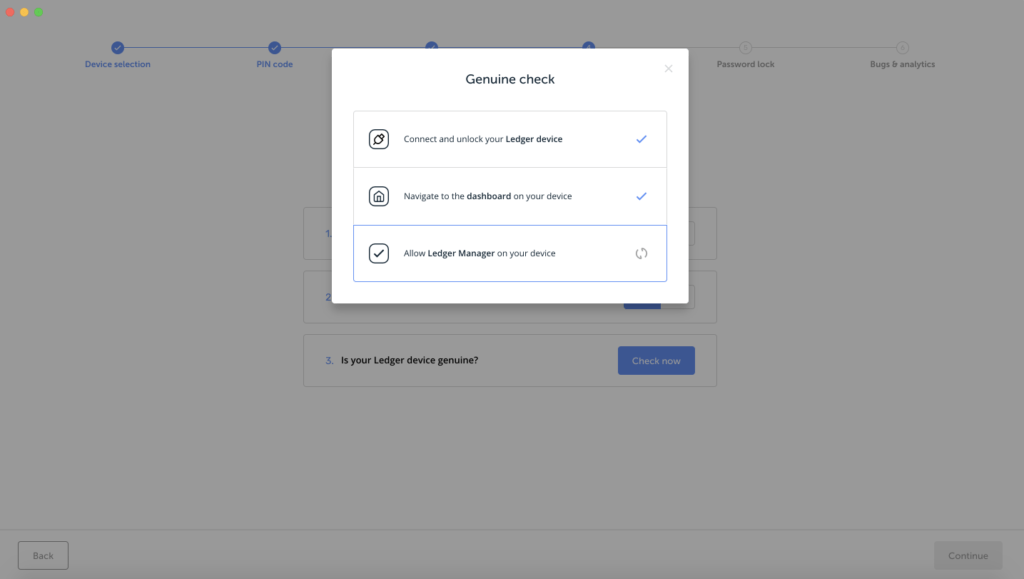
13. Next, the application will ask you if you have done everything to set up your wallet: “Did you come up with a PIN code?”, “Did you write down your private phrase?”, “Is your wallet original?” – after that you need to click on the “Check now” button and the program will start checking your wallet for originality.
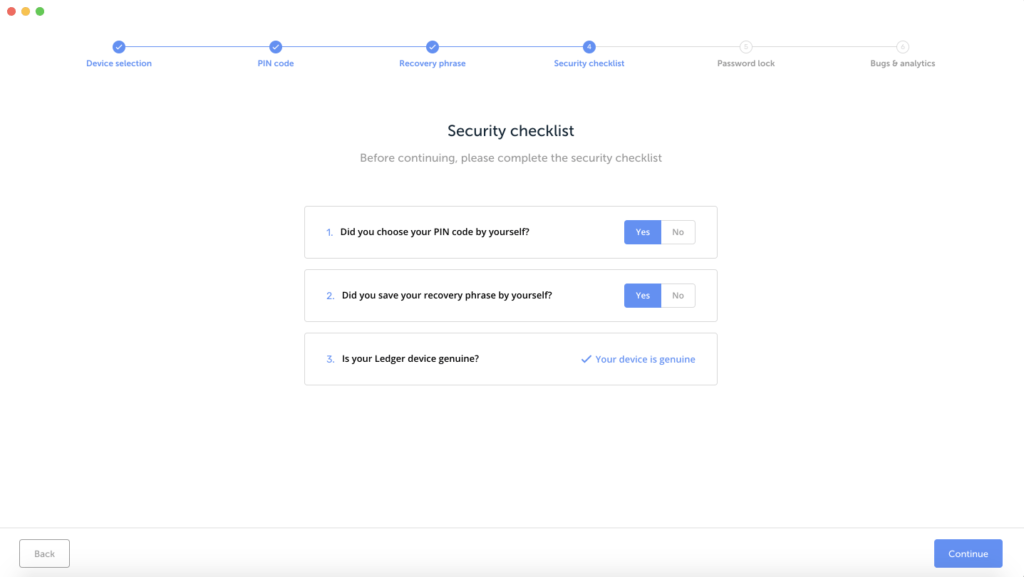
14. After verification, the application will say “Your device is genuine” – this means that your wallet has been verified and it is real. then click “Continue”
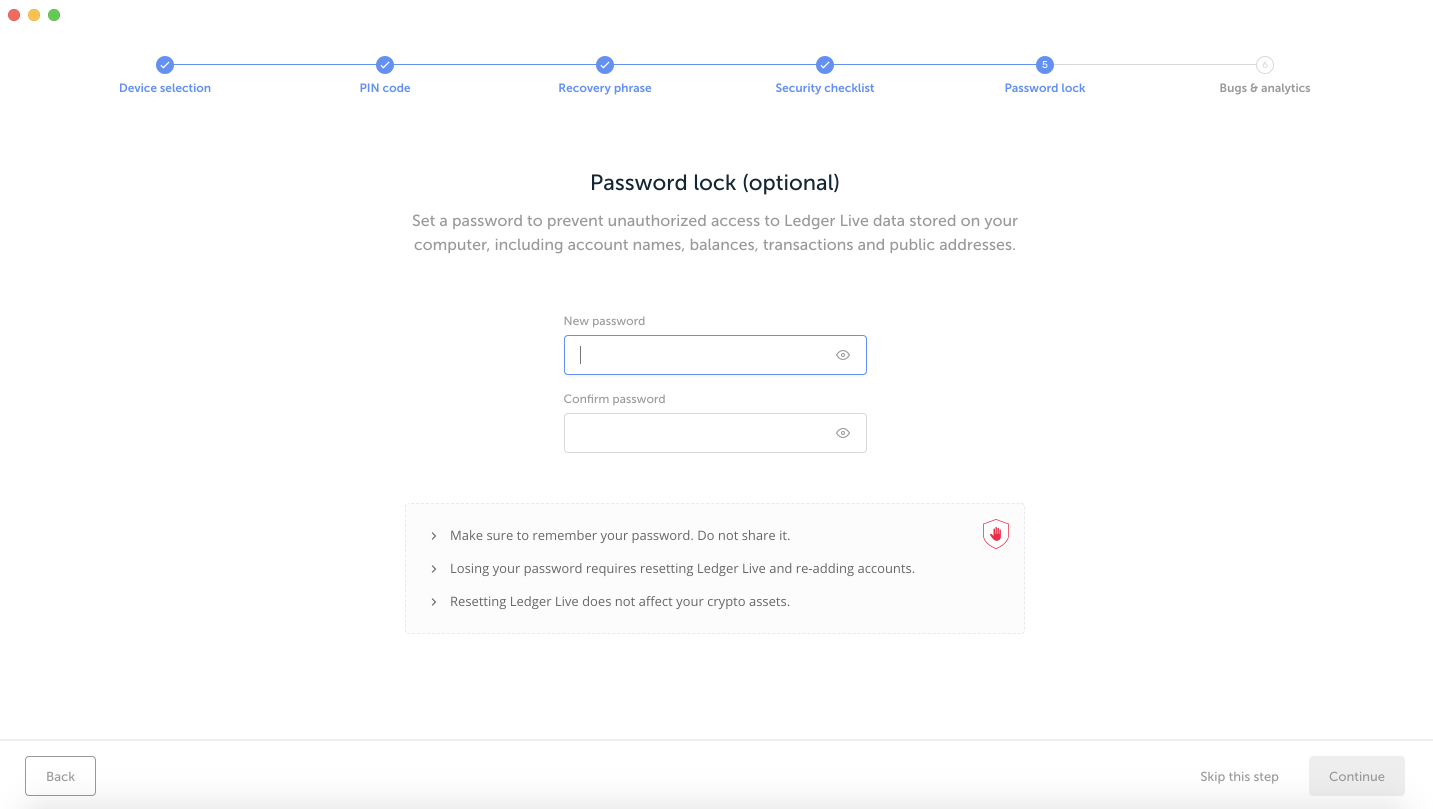
15. Next, the application will prompt you to come up with a password to enter the application in offline mode, this is optional so that no one can see your balance, transaction history. You can also skip this step by clicking on the “Skip this step” button (skip this step)

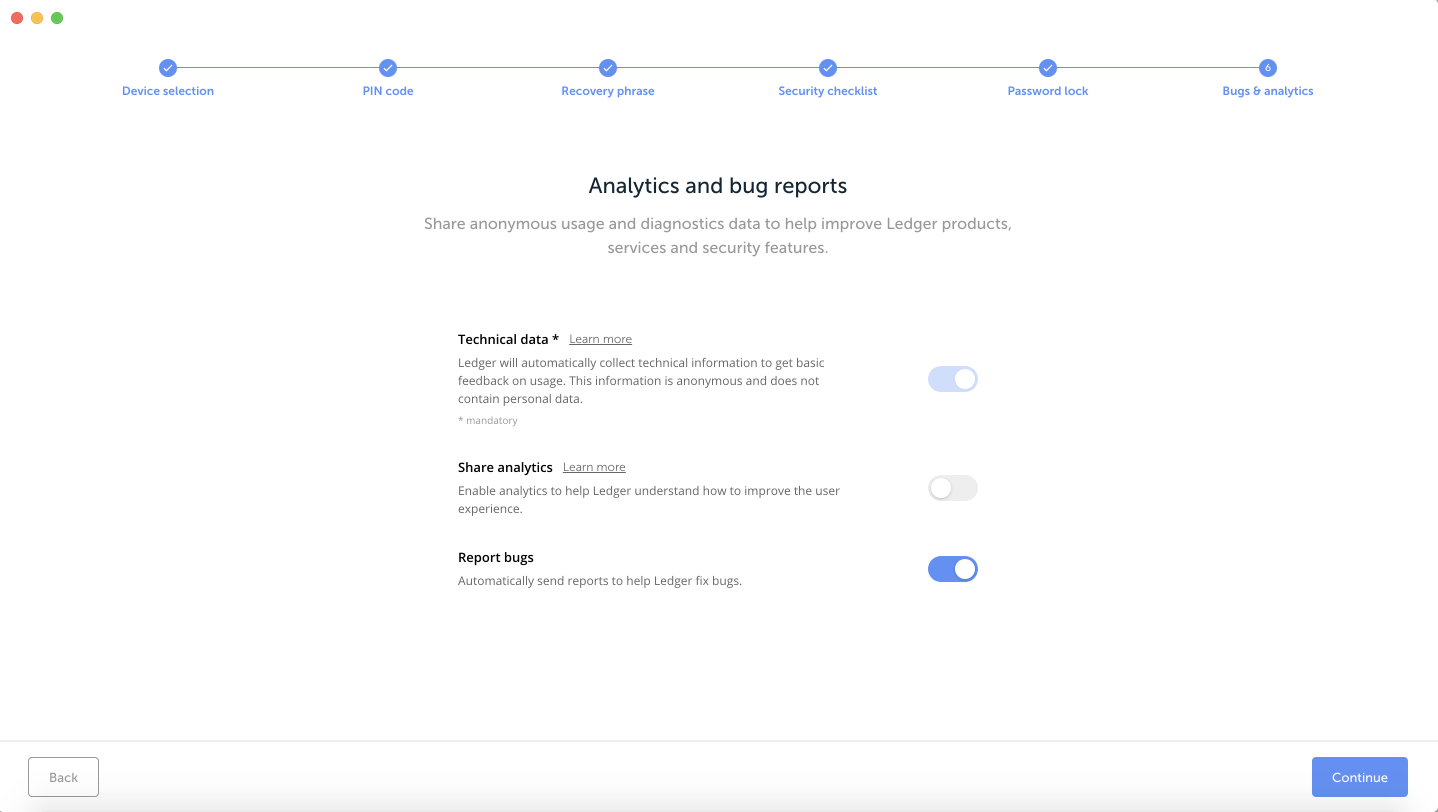
16. The next window will say if you want the technical department of Ledger to be able to analyze and receive problems that users are experiencing, then click “Continue”
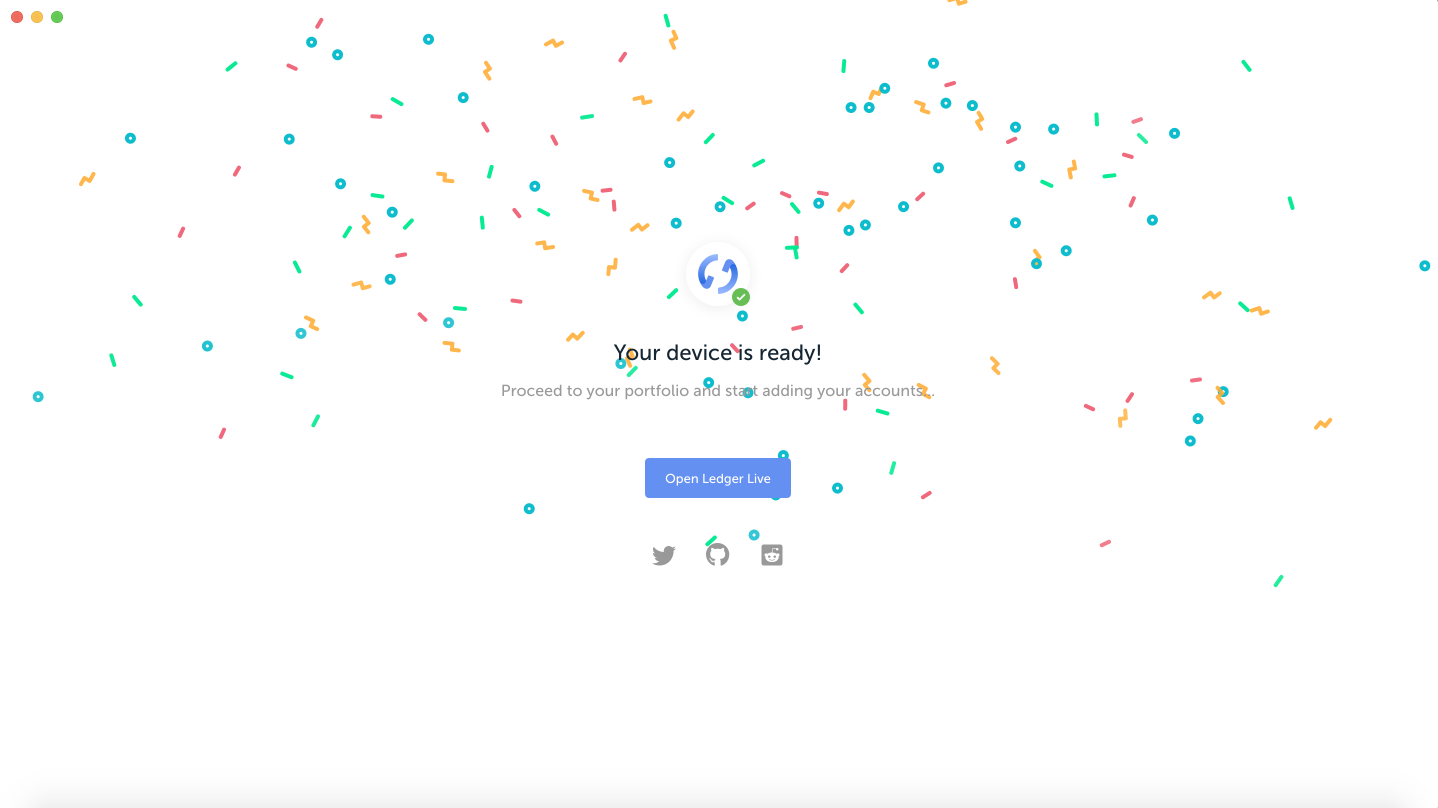
17. So you have set up the Ledger Live application, with which the wallet congratulates you, click the “Open Ledger Live” button.
Setting up an already configured Ledger wallet
1. We go to the page with the application and see the following

2. To download the application, you need to click on the “Download now” button
3. After that, the application will start downloading to your computer.
4. Once the installation file is downloaded, you need to install it on your computer.
5. Next, we find the installed application on the computer and go into it.
6. The Ledger Live interface will open
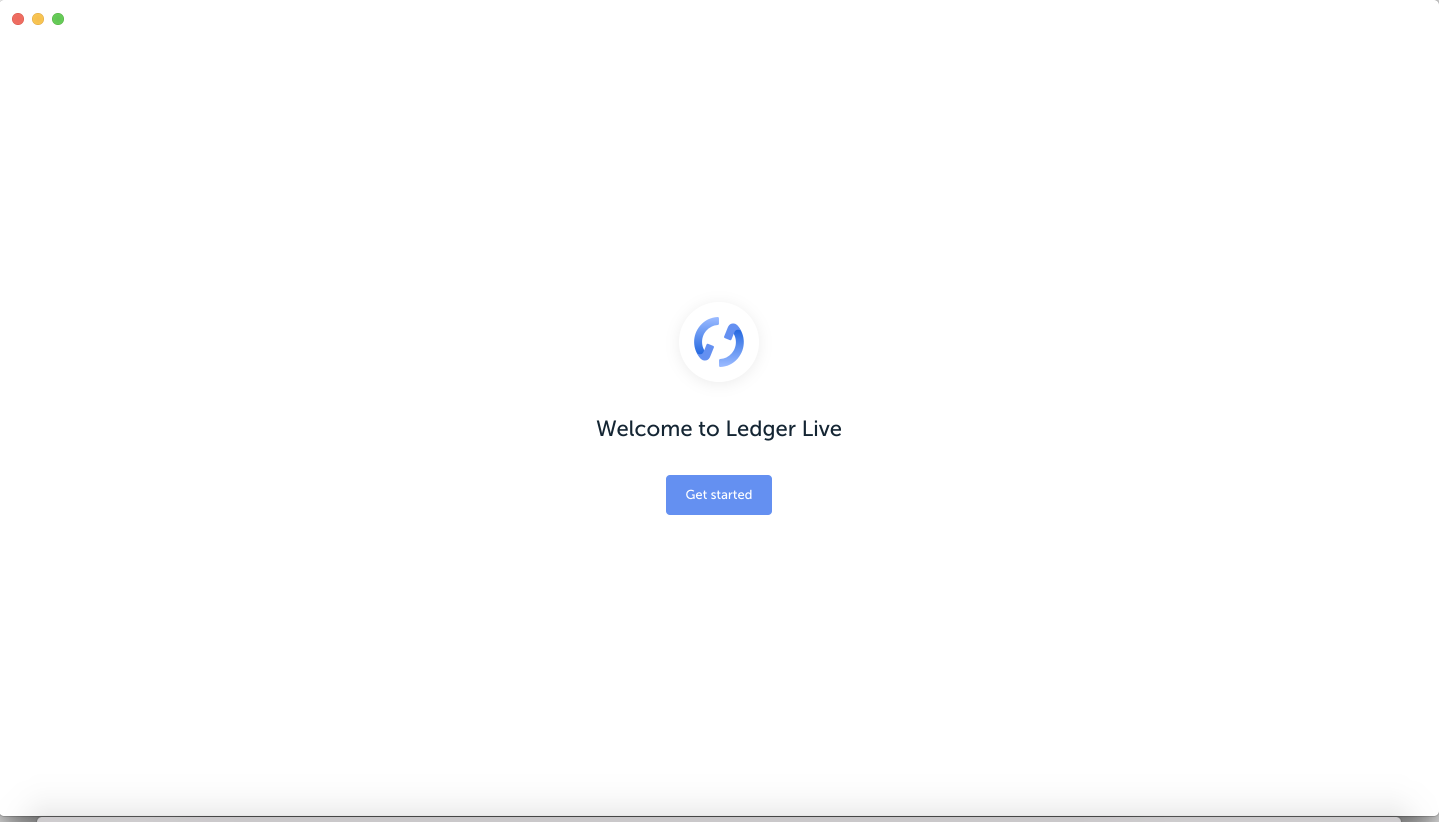
7. Click “Get started”.
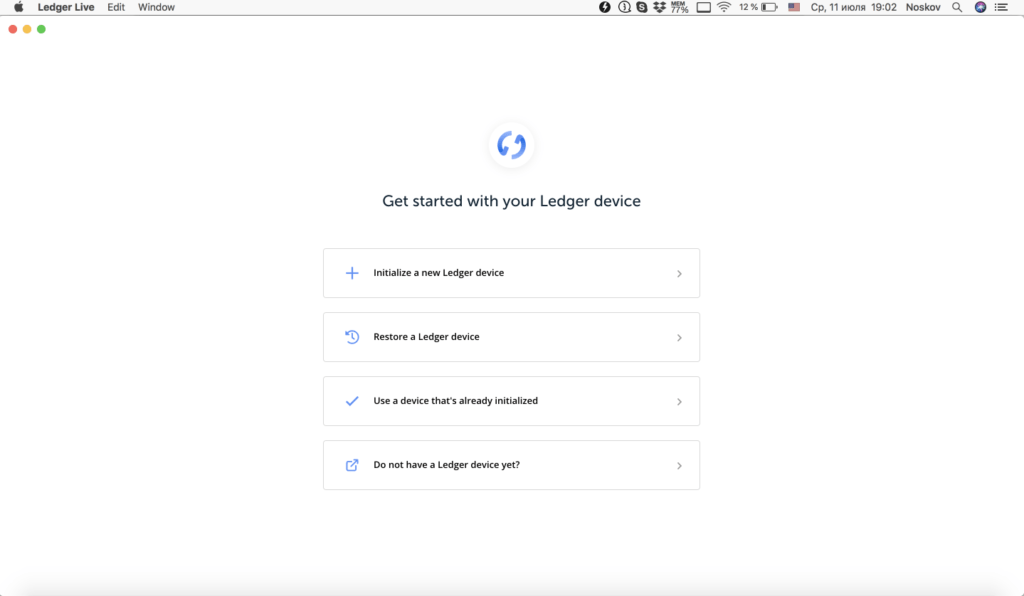
8. In the list that appears, you need to select
- use a device that’s already initialized (use an already configured Ledger wallet)
9. Next, you need to select your Ledger Nano S or Ledger Blue wallet and click the blue “Continue” button

10) Next, the application will ask you if you have done everything to set up the wallet: “Did you come up with a PIN code?”, “Did you write down your private phrase?”, “Is your wallet original?” – after that you need to click on the “Check now” button and the program will start checking your wallet for originality.


14. After verification, the application will say “Your device is genuine” – this means that your wallet has been verified and it is real. then click “Continue”

15. Next, the application will prompt you to come up with a password to enter the application in offline mode, this is optional so that no one can see your balance, transaction history. You can also skip this step by clicking on the “Skip this step” button (skip this step)
16. The next window will say if you want the technical department of Ledger to be able to analyze and receive problems that users are experiencing, then click “Continue”

17. So you have set up the Ledger Live application, with which the wallet congratulates you, click the “Open Ledger Live” button.
Creating a portfolio and setting up wallets on Ledger Live
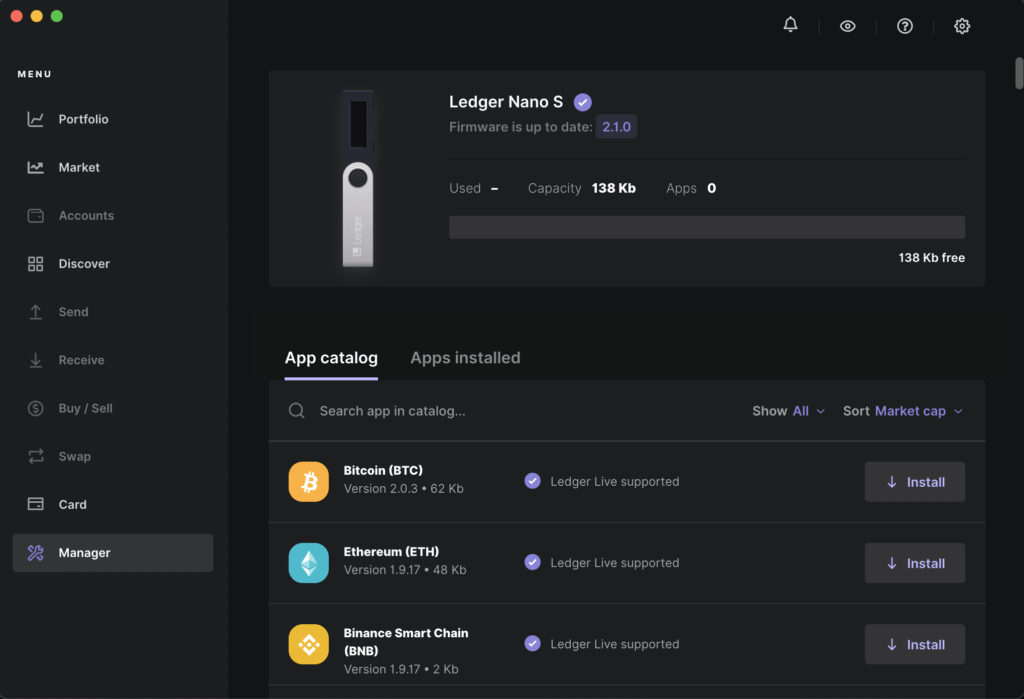
1. After creating a new wallet or setting up an already created one, you will see the main Ledger Live menu, in order to add your cryptocurrency to your portfolio and send, receive or just view your balance, you must first add cryptocurrency to your portfolio and install cryptocurrency applications in the Ledger Nano wallet S. To do this, click the “Open Manager” button.
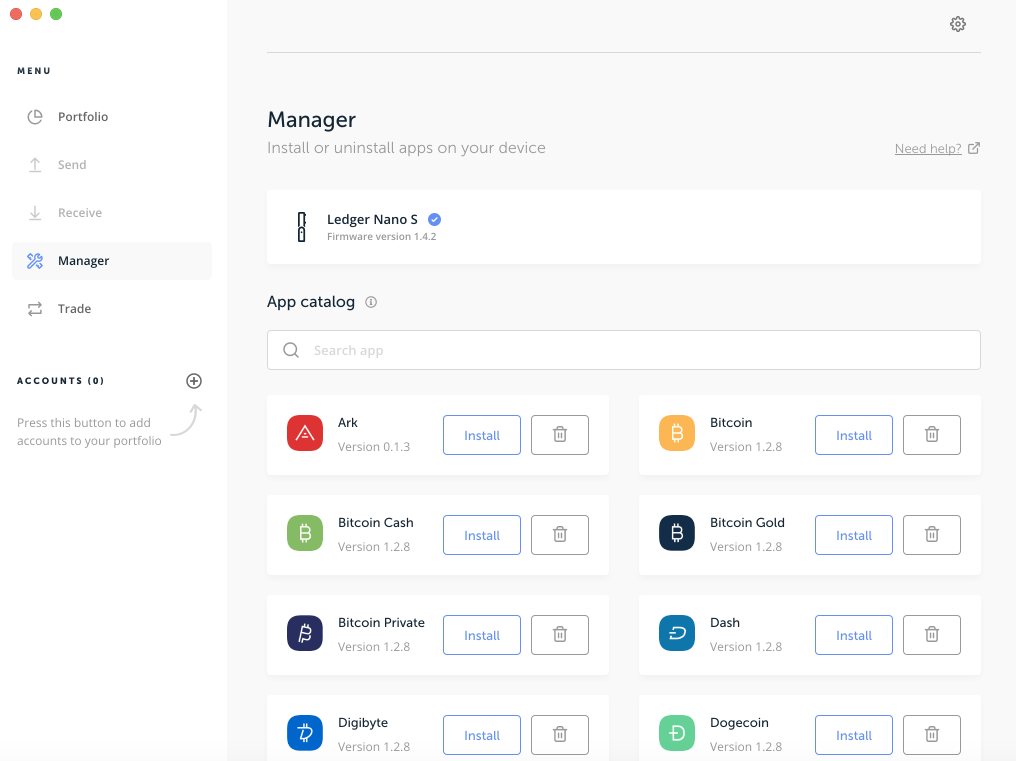
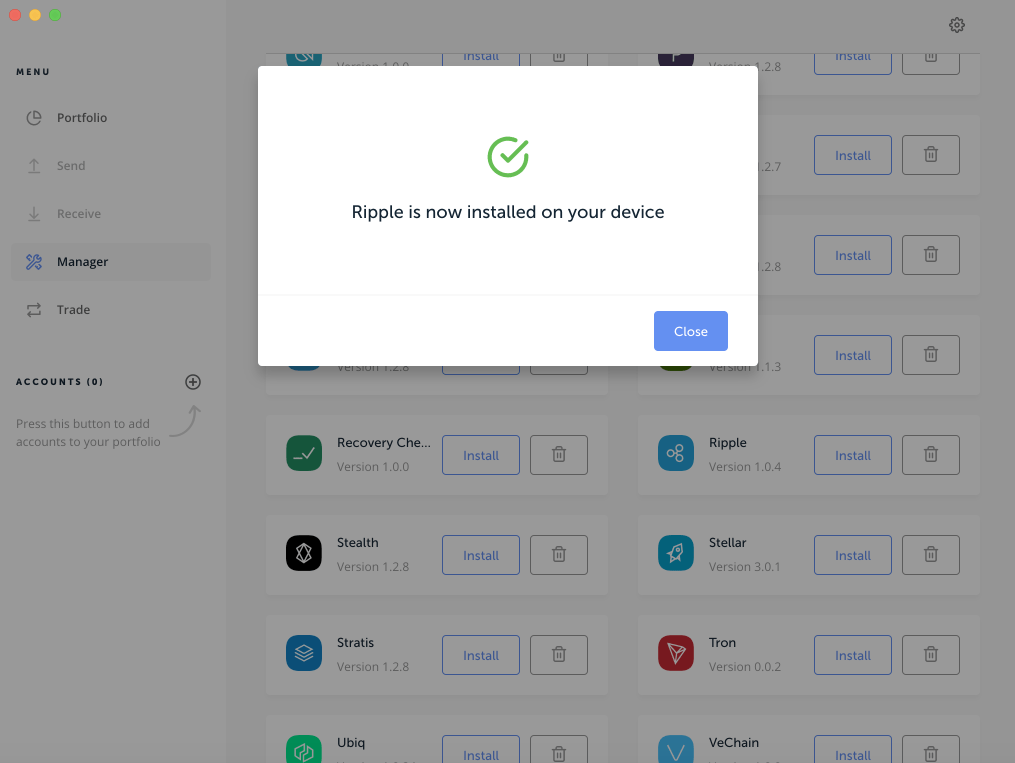
2) In order to install the cryptocurrency you need in your wallet, you need to find it in the list and click the “Install” button, after which the installation window will appear and the cryptocurrency you have chosen will be installed on your wallet.
To remove the cryptocurrency application from the wallet, you need to find the cryptocurrency to be deleted in the list and click the “basket” icon, after which the cryptocurrency will be deleted from the wallet.
IMPORTANT: 4 cryptocurrency applications can be installed on the Ledger Nano S hardware wallet at the same time.
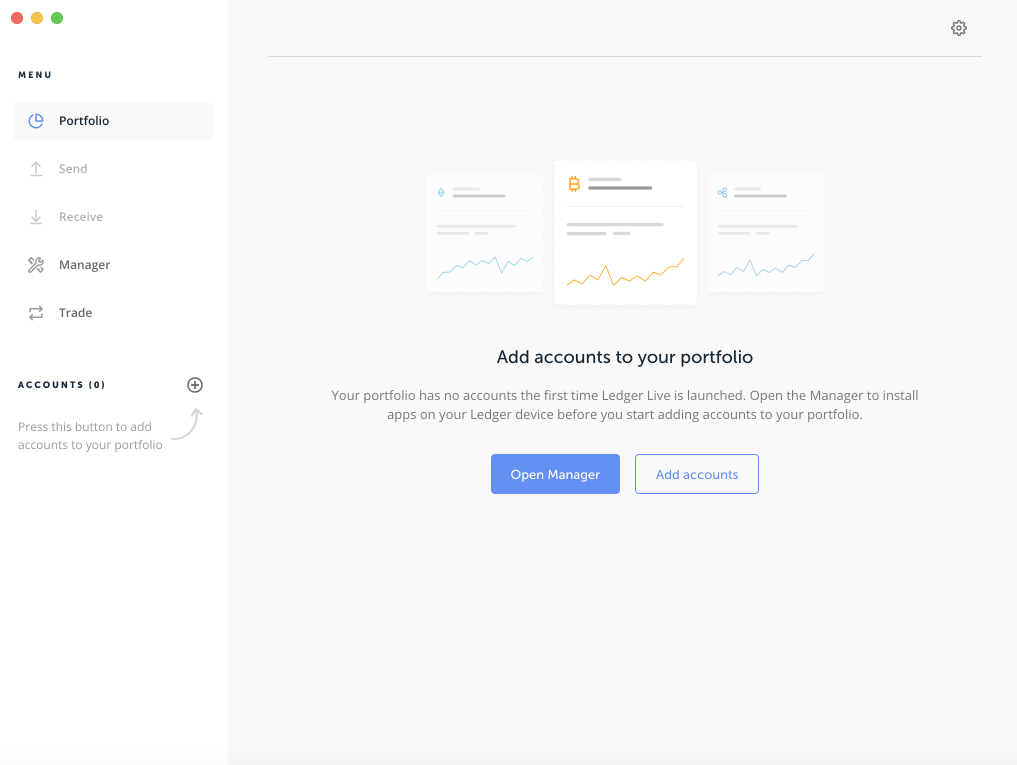
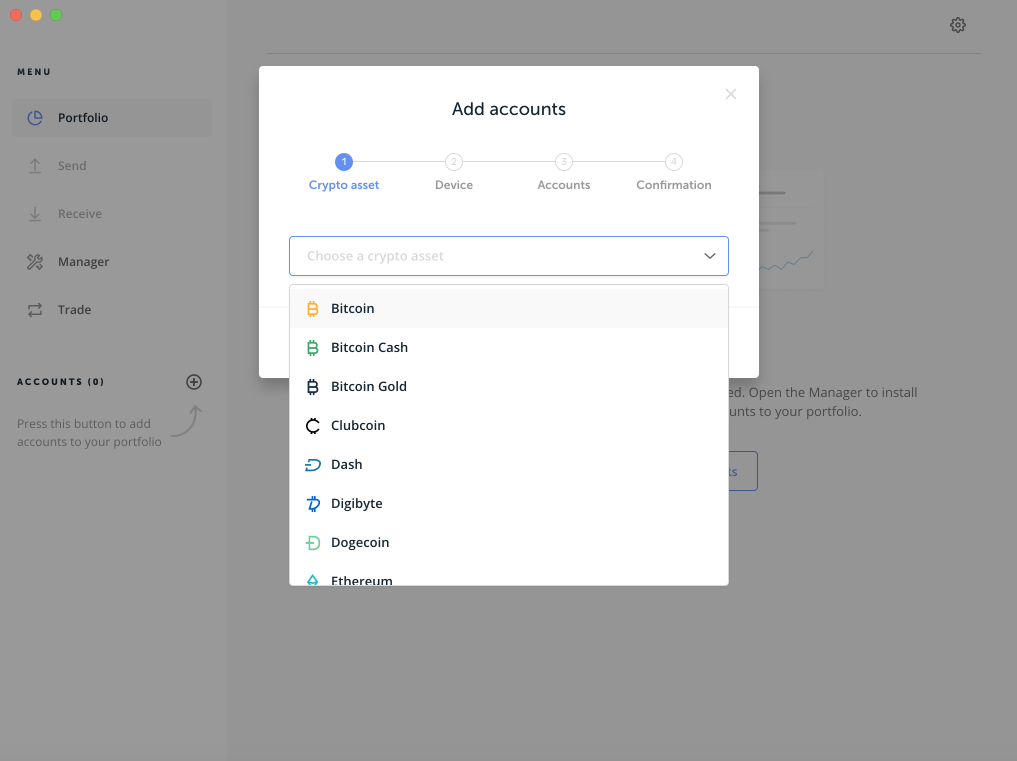
3. To add the cryptocurrencies you need to the portfolio to send, receive or view the balance, you need to click the “Add accounts” button
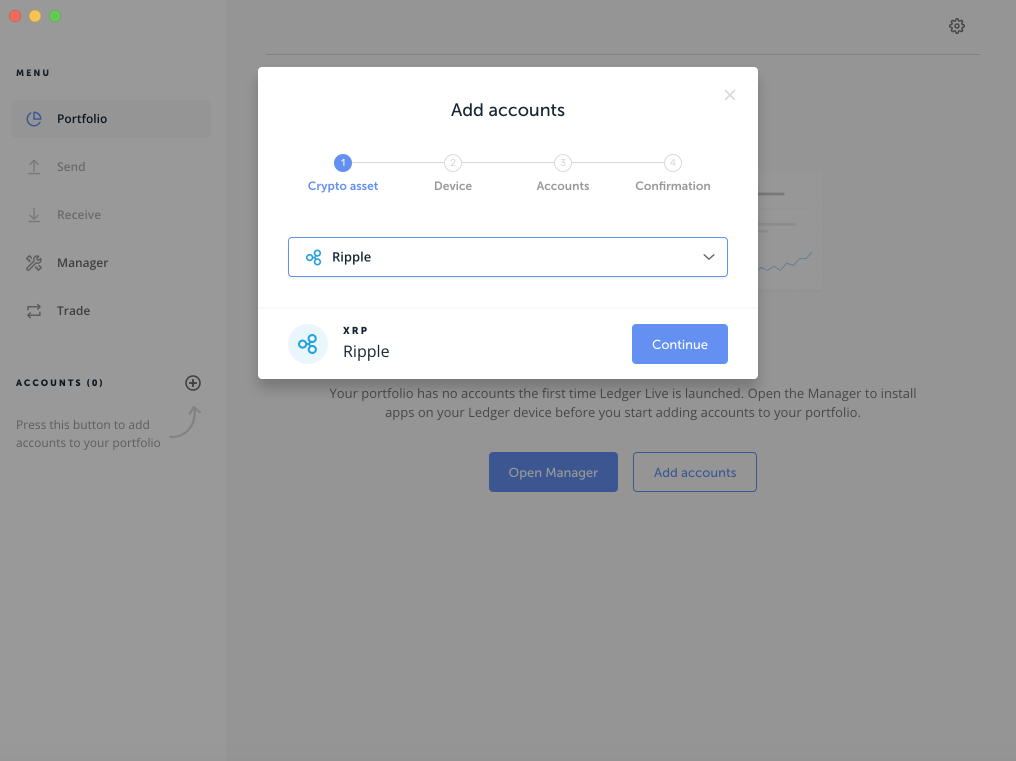
4. Next, you need to select the desired cryptocurrency from the list and click “Continue”
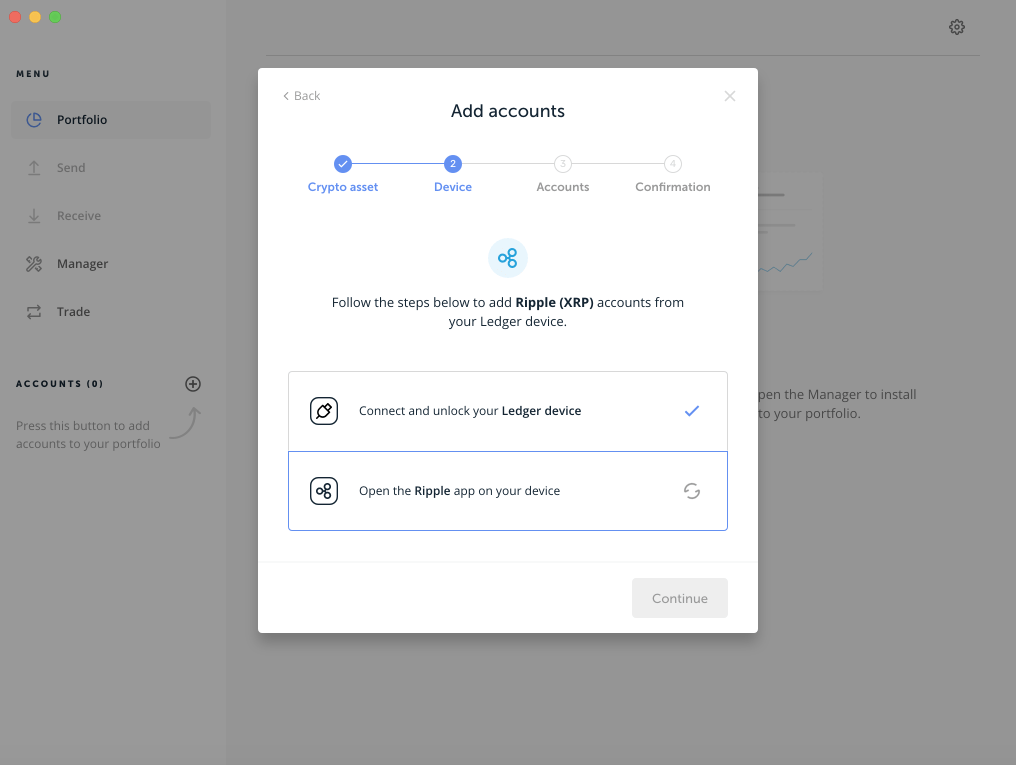
5. Next, it will be written that you first need to disconnect the cable from the wallet and reconnect it (the wallet will ask you to enter your pin code). After that, you need to select the desired cryptocurrency in the wallet itself and press two buttons simultaneously.
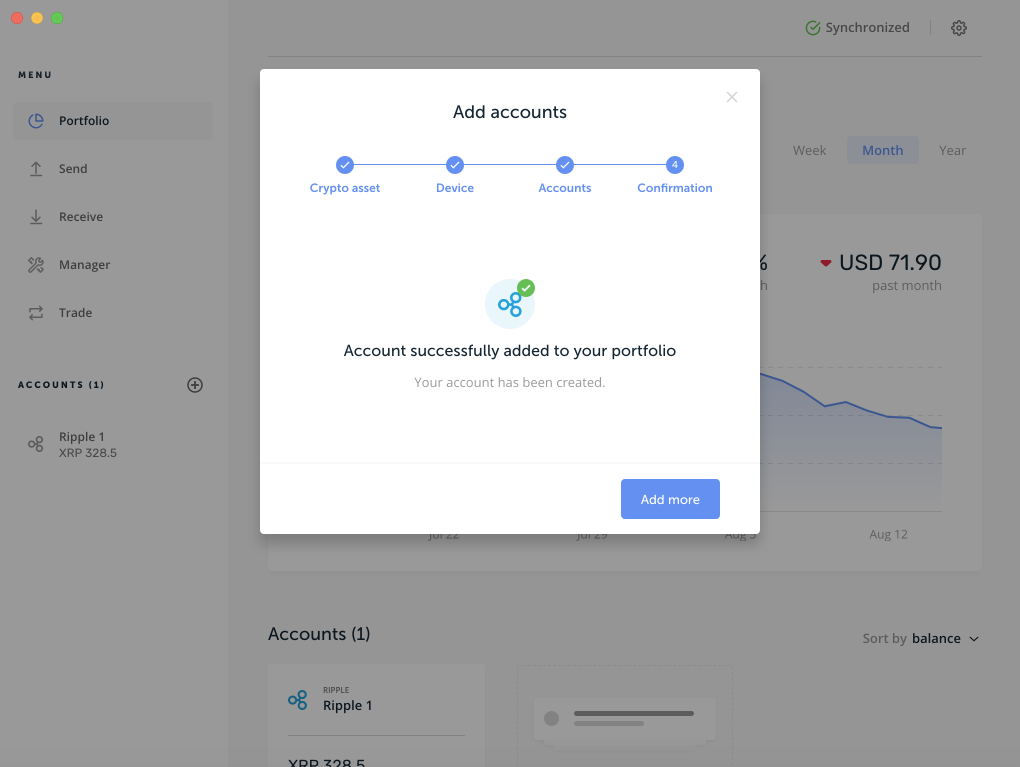
6. After that, synchronization with the wallet will begin. After that, the application will offer to name the created wallet, you can name it by any name in Latin, this is done for ease of use if, for example, you create several accounts for one cryptocurrency. Next, you need to click the “Add account” button.
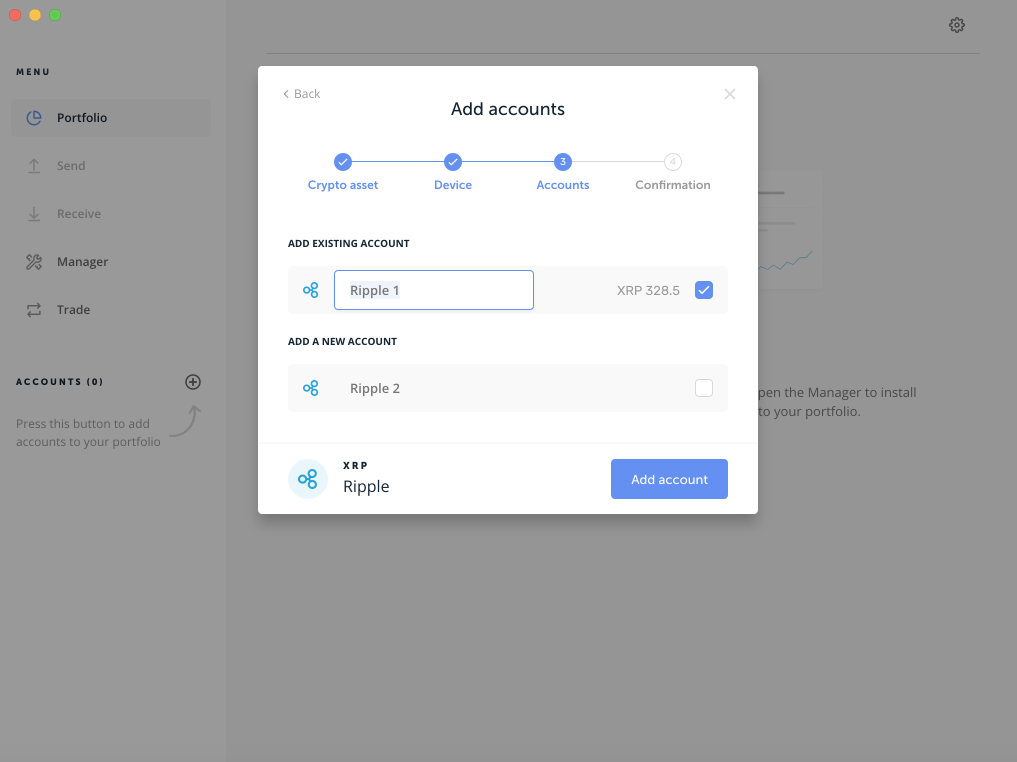
7. Congratulations, you have created your first cryptocurrency account and will now be able to send, receive or simply view your cryptocurrency balance.

How to send or receive cryptocurrency on Ledger Live
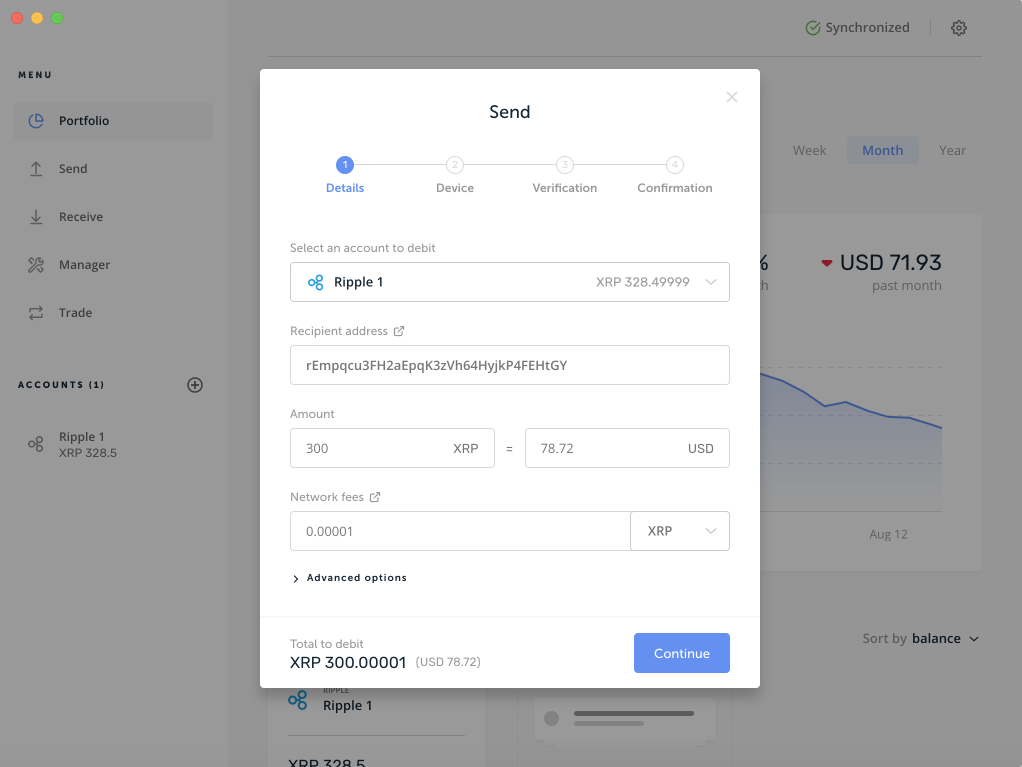
1. To send cryptocurrency from the Ledger Live application, you need to click the “Send” button in the side menu

2. A window will appear in which you need to select which cryptocurrency you want to send, indicate the address to which you will send the cryptocurrency, indicate the amount of cryptocurrency and assign a commission. Next, you need to click the “Continue” button
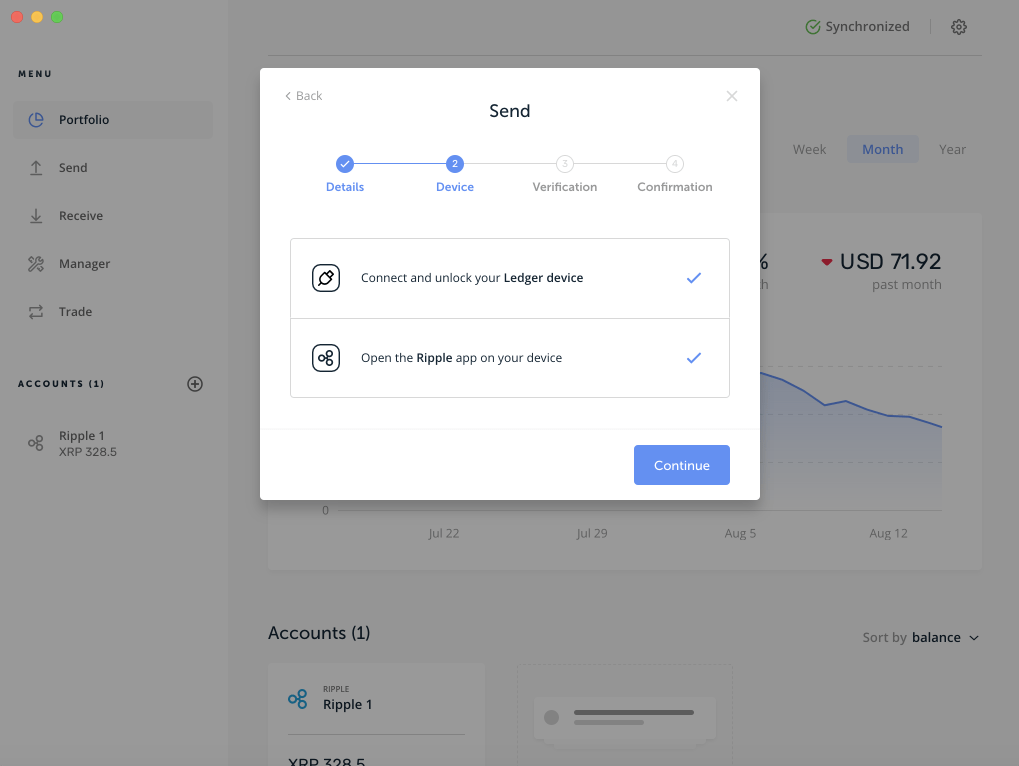
2. Next, the application will ask you to enter the cryptocurrency on the wallet itself that you want to send.
3. The next step is to confirm or “verify” the transaction using the Ledger Nano S wallet, you need to click on the wallet itself that you confirm the transaction.
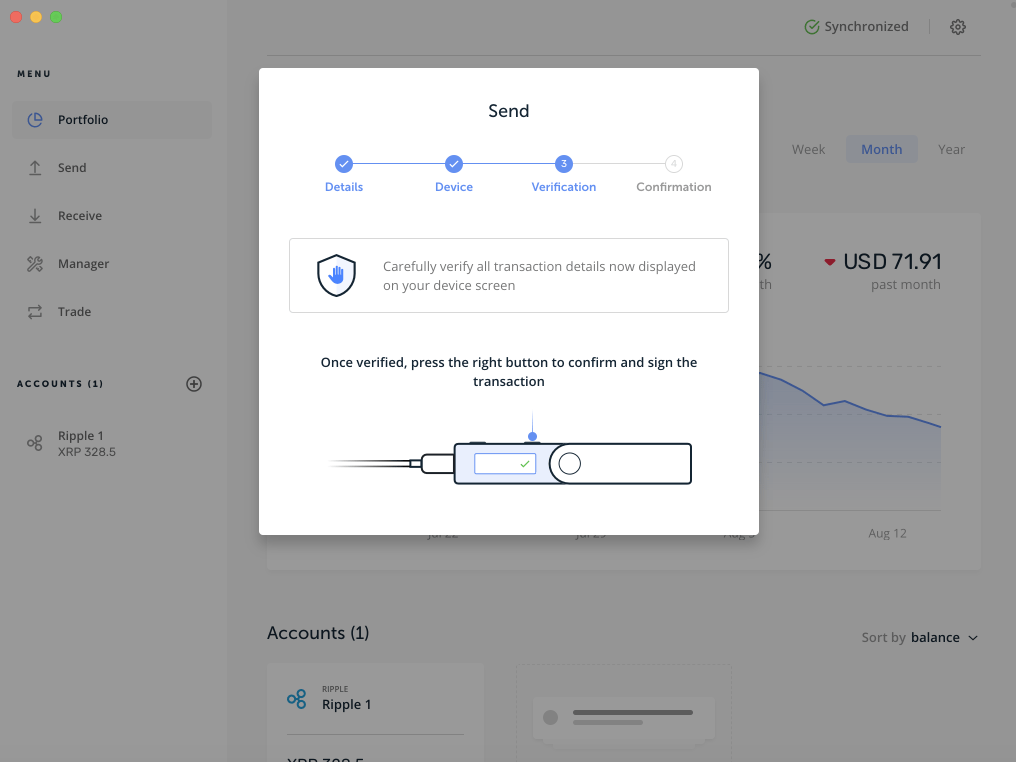
4. Congratulations! You have made your first cryptocurrency transfer using the Ledger Live app.
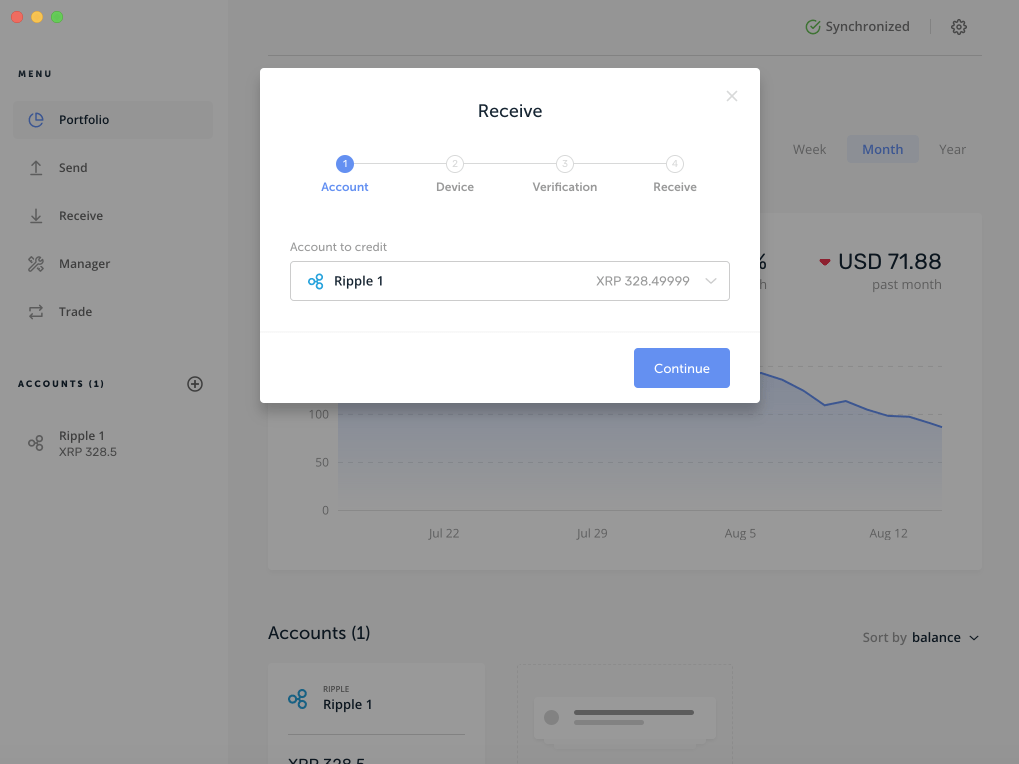
5. To receive cryptocurrency to your Ledger Nano S wallet, it is not necessary to constantly connect the wallet to the computer, but in order to receive cryptocurrency, you must find out the address to which you will receive the cryptocurrency. To do this, in the side menu, you need to click the “Receive” button and such a window will appear, you need to select from the list the cryptocurrency to which you want to receive the address for sending.
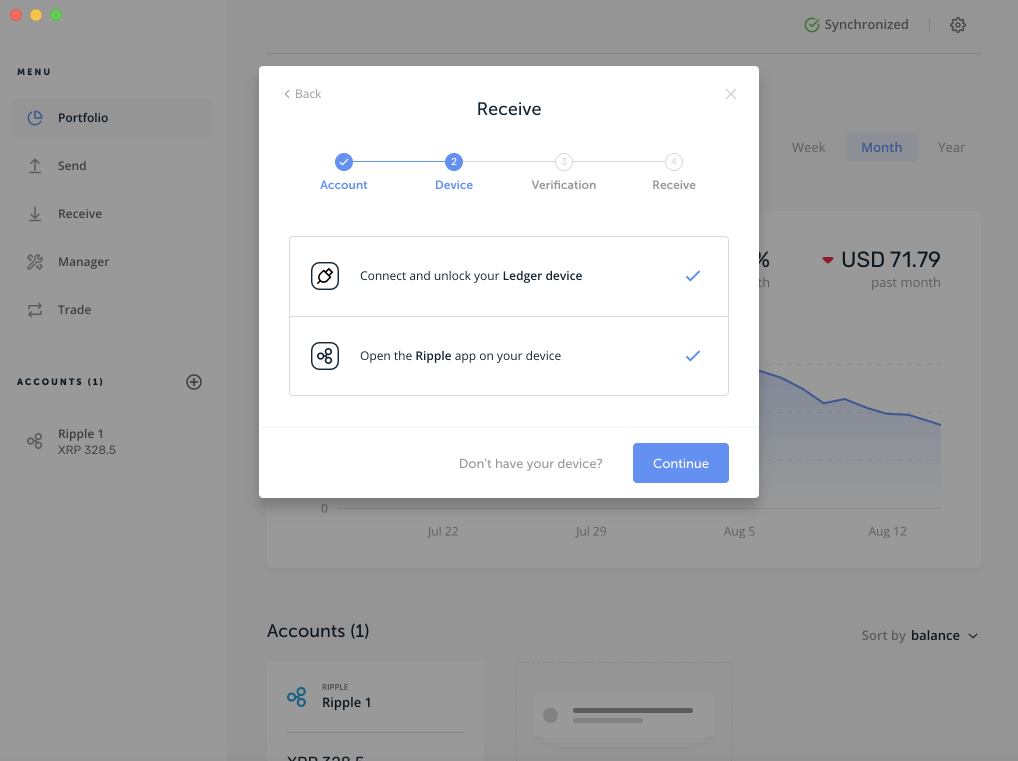
6. The next step is to select a cryptocurrency on the hardware wallet itself and click “Continue” in the Ledger Live application
7. The next step is very important from the point of view of security and phishing, you need to click the “Verify” button, this is necessary so that the fraudsters cannot do the address substitution.
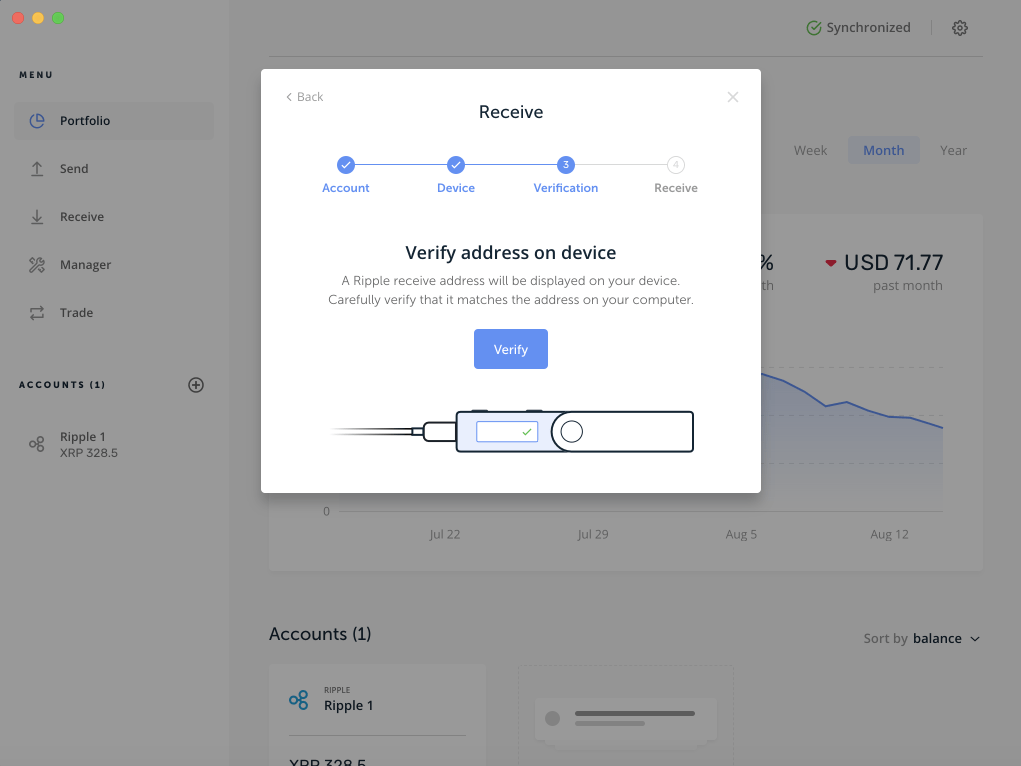
8. Next, your address will appear on the screen, in order to protect yourself from phishing, the inscription “Confirm adress” will appear on the wallet itself and your address will be shown as a running line. You need to carefully check the address on the wallet and on the computer monitor in the Ledger Live application, they must match. If the addresses do not match, then in no case do not send your cryptocurrency to this address, this has been spoofed by scammers.
If the address is correct, then click on the wallet that you confirm that these addresses match and feel free to send cryptocurrency to it.
Congratulations! You have learned how to get the public address of your cryptocurrency using Ledger Live.
Read more articles about cryptocurrencies and mining at CRYPTO-WALLETS.ORG.
The Telegram channel about cryptocurrency and mining Bitcoin, Ethereum, Monero and other altcoins: